Carry out clean wiring
The more important the cabling of a network, the more it is necessary to set rules. Here are some techniques used by the club to carry out its wiring.
Select the wires
- Avoid using single-strand cables which risk breaking due to strain hardening. Give preference to multi-strand cables.
- Give preference to cables with copper conductors. They will be easier to weld. There are more sophisticated cables used in aeronautics which have a better hold but they are difficult to solder (In aero, soldering is not welcome, the cables are crimped)
- Do not choose a cable with too small a cross-section. More fragile, risk of cuts and risk of overheating (melting of the insulation) in the event of a short circuit (yes, it happens even to the best of us). Cables with a cross section of 0.14 mm² are a good compromise for most uses.
- Whenever possible, it is convenient to have as many different colored wires as possible. This will allow a function to be assigned a color, making it easier to identify and troubleshoot just in case …
Welding
- Choose the power of the iron carefully. Too powerful there is a risk of melting the insulation too much. Depending on the type of weld, you have to choose between 15 Watts (fine electronics) and 45 Watts for larger welds.
- Beware of “low-end” solder wires. They are often insufficiently wetting. The welds are of poor quality, often dry. Electrical contact may be bad or nonexistent. Over time, the solder may no longer adhere to the wires, and finding this kind of breakdown is not always easy to identify and locate.
Insulate a solder between two wires:
Always insulate the solder between two wires, under risk of short circuit, always the day when it is not desirable … The only effective, economical, easy and fast method is to use heat-shrink tubing .
This product is available in different colors (but it is not essential to use a sheath of the color of the wire to be protected) and of different diameters. It is useful to have sheaths of several diameters, mainly 1mm / 1.5mm / 2mm / 3mm. But there are also larger diameters.
These products are available at very low cost on eBay from China. It is also possible to buy these products in UK or UE, but they are often items made anyway in Asia and sold at much higher prices.
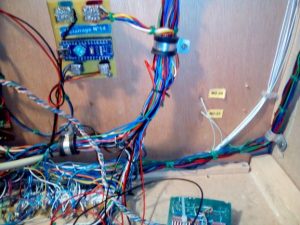
Make a strand of cables quickly and economically.
If the network cabling is important, it may be useful and necessary to group the wires that follow the same route. The group of wire thus formed is called a strand.
Advantages :
- They are compressed, which limits or avoids vibrations, and therefore breakage of the connections.
- the wiring is cleaner and take up less volume.
- It’s clean and prettier to look at. Almost professional work, when it’s done well!
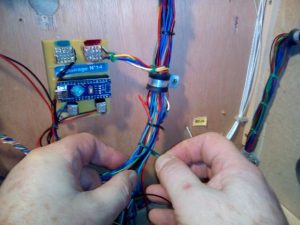
The bundling of several wires into a strand is called fretting. Two techniques for carrying out a fretting:
- Use Ty-Rap type collars. Expensive and disposable. And sometimes a strand needs to be modified, the collar must be replaced !!!
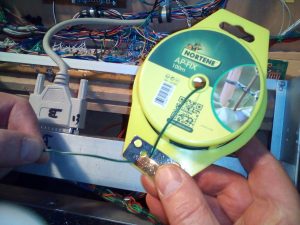
- Use sheathed garden tie wire, inexpensive and available in any good garden department. Simply cut off one end of the appropriate length (5-10 cm) and twist around the strand with flat-nose pliers until the excess length breaks off.

Connect two bundles of cables
When the layout is removable (modular), it may be necessary to connect a number of cables between two modules.
The Club uses 15, 25 or 37 pin Type D connectors. If it is planned to connect and dismantle the system often (during exhibitions for example), it may be prudent to proceed as follows:
The pins of the Type D or Sub D male connectors are fragile and can break over time if the mechanical connection is wrong connected. If this happens, the entire concerned connector must be unwired and changed, which can be tedious and difficult. To avoid this failure which renders the electrical connection inoperative (and this always happens when it should not be), the Club has adopted the following method:
On the modules, the harnesses are connected to connectors, female only, Sub-D type, screwed onto the structure of the modules. The connection between modules is made by a male / male D-sub extension, either commercially purchased or manufactured by the club. The female connectors are unlikely to be damaged and therefore there is little chance that their replacement will ever be necessary.
The connection between the two female connectors attached to each of the modules is made with a “male-male” extension. We can use :
- A “male-male” extension purchased in stores or salvage, but it is difficult to find extensions less than 1 yd (often too long for that use) and relatively expensive.
- A “male-female” extension (found in your old inventory). You just need to keep the “male” end and cut the cable to the desired length. You then adapt a “male” connector with housing on the cut side as described below. If a plug on the extension cord has worn out over time, swap the plug to replace it, which is easy because the extension cord is not attached to any module.
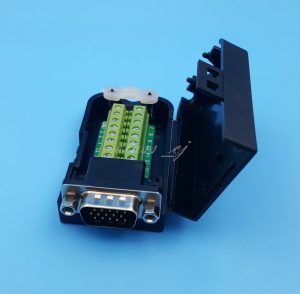
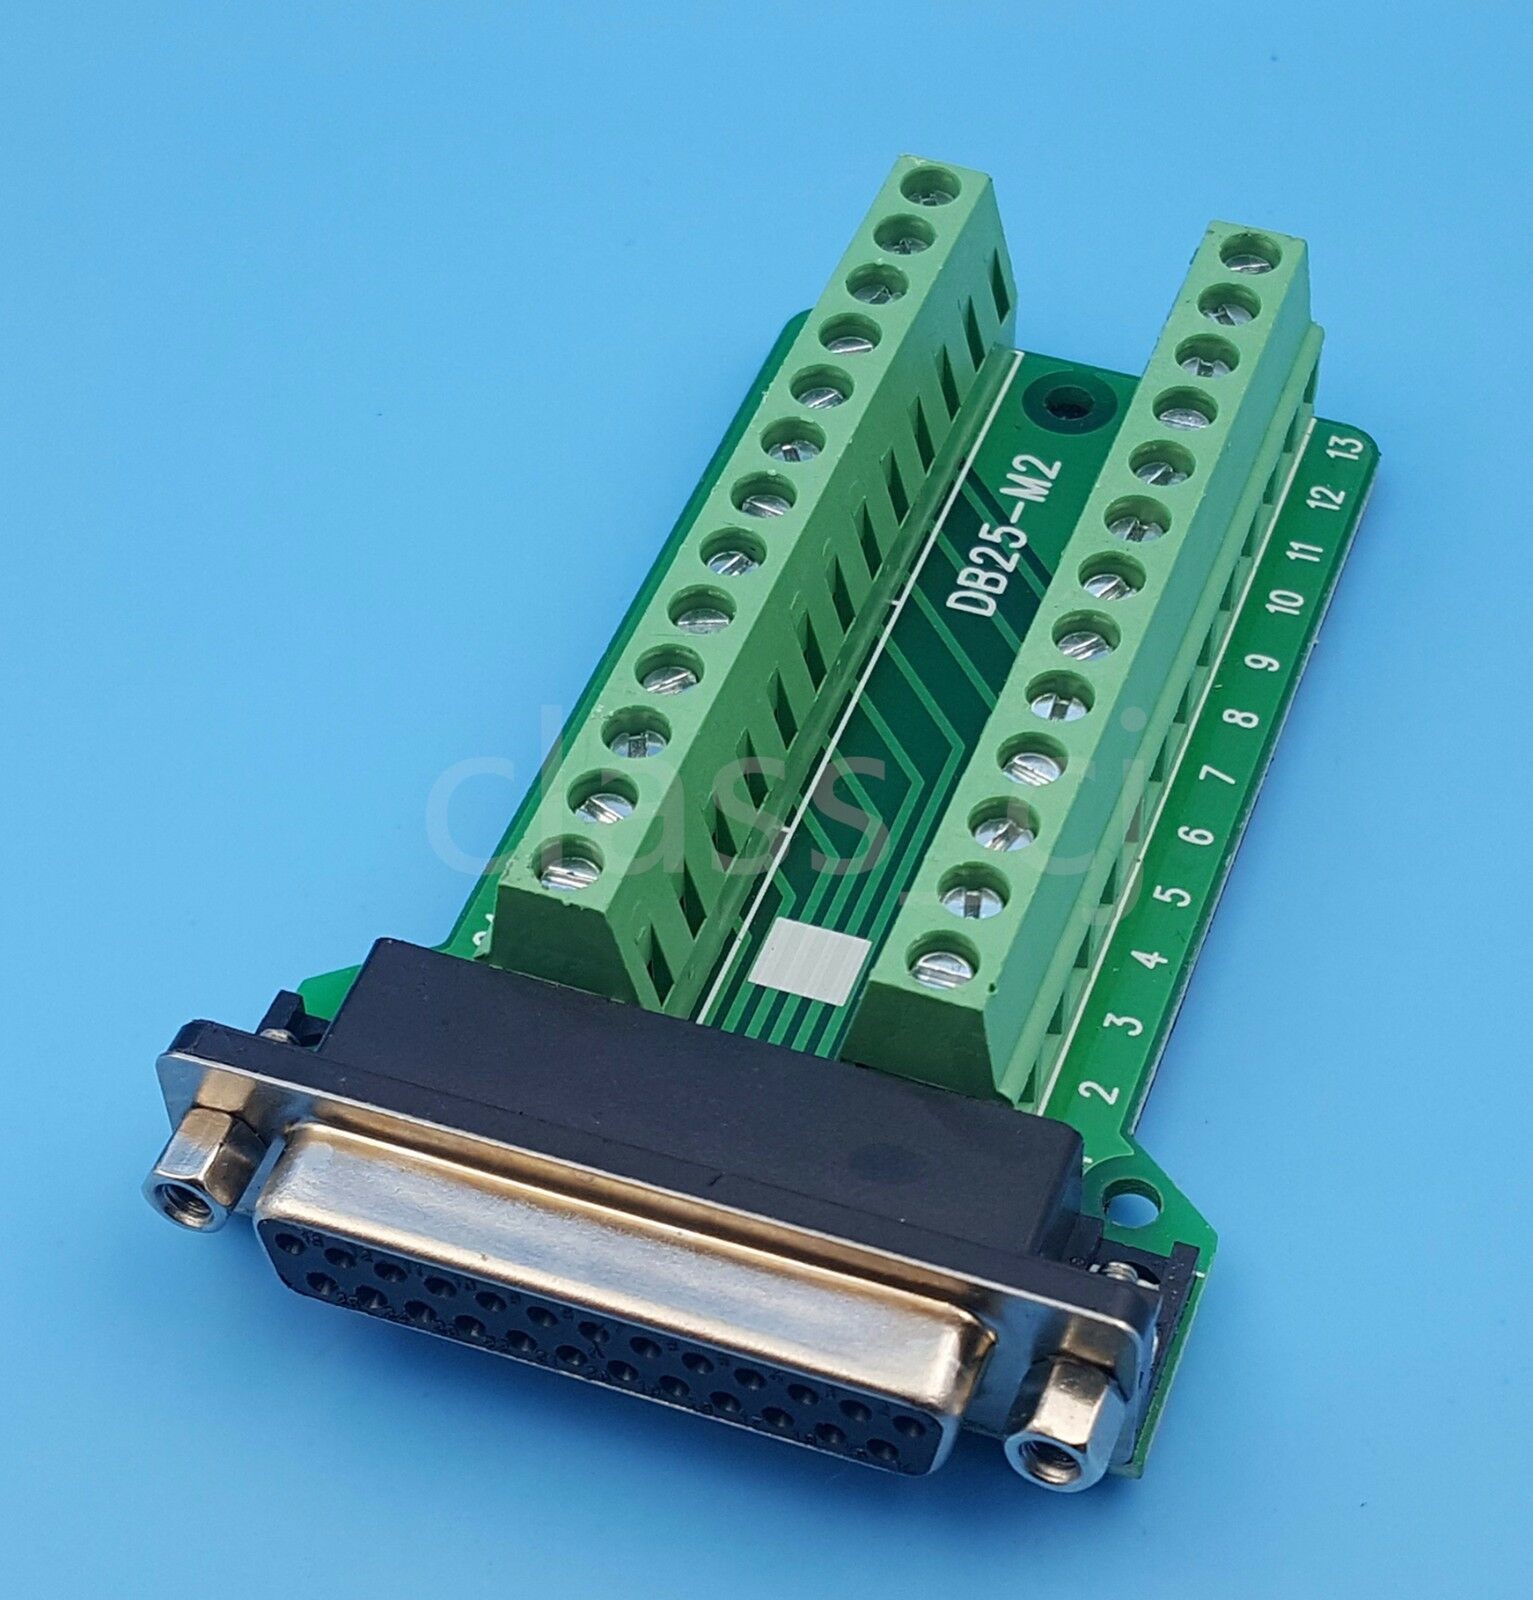
There are Sub-D connector boxes (male and female) equipped with strips onto which the cables are screwed. This is easier than soldering cables on solder connectors, and replacing a cable, if necessary, is very easy.
The photos below show male and female Sub-D connector assemblies, with strips with and without cover. These products are available in 9, 15, 25 and 37 pin versions.
